- eCommerce Settings
- Localization
- Import/Export
- API Documentation
- Customizing Your Job Board
- Integrations
- BLOG ARTICLES
- Change Log
- Understanding the HiringOpps Platform
- - Back-Office Admin
- General
Recent Posts
Most Popular
Using the Layouts Feature

Navigating to the Layouts Menu
- Login to your back-office admin.
- Expand the Content Management section and click Layouts.
- Search for the page you would like to edit and .
- Click on the Actions button next to the company you want to edit and click Adjust form fields.
Editable Layouts
The following are all of the pages that can be edited within the Layouts Menu.
Candidate Pages
| Layout Name | Page Description | Layout Location |
| Job Seeker Registration | Registration form for Candidates | /candidate/register |
| Job Seeker Job Application Upload Dialog | Candidate Information included in Application Email | -- |
| Job Seeker Profile View Dashboard (basic) | Main Candidate dashboard | /candidate/{id} |
| Job Seeker Profile View Dashboard (details) | Candidate Information header, "profile details" from basic | /candidate/{id} |
| Job Seeker Profile Edit | Page for candidates to edit their professional profile information | /candidate/{id}/edit |
| Job Seeker Settings Edit | Page for candidates to change their personal information | /candidate/settings |
| Job Seeker Profile View from Company Dashboard | Candidate Profile as company users will see it. | /company/candidate/{id} |
Company Layouts
| Layout Name | Page Description | Layout Location |
| Company Registration | Registration Form for Employers | /employer/registration |
| Company Profile Edit | Page for employers to edit the company profile | /company/profile/edit |
| Company Profile View | Company Profile Page layout | /company/{id}/{slug} |
Job Post and Search Layouts
| Layout Name | Page Description | Layout Location |
| Job View | Job Post Page format | /job/{occupation}/{specialty}/{id}/{jobTitle} |
| Job List Result | Formats the jobs in the search results. | /jobs/search |
| Job Initial Form | Formats the first page of the job post form | /company/job/add |
| Job Details Form | Formats the second page of the job post form | /company/job/{id}/details |
| Advanced Job Search Criteria | Page layout for job search filters | /jobs/search |
| Advanced Candidate Search | Page layout for candidate search filters | /company/candidate/search |
Admin and Affiliate Registration Layouts
| Layout Name | Page Description | Layout Location |
| Affiliate Registration | Registration form for affiliates | /affiliate-registration |
| Admin Company List | Sets the columns for the View All Companies table in Admin | /admin/company |
| Admin Job Seeker List | Sets the columns for the View All Candidates table in Admin | /admin/candidate |
| Admin Job Seeker Edit | ||
| Admin Job Seeker View | |
Manipulating the Layout
Individual layout items can be edited in the following ways, to view the options for the item click the Gear icon in the top right corner of the item. Note that not all items will have all options.

- Rearrange: Click and drag the item to move it to a different location in the layout. Other items will move to fill in any gaps

- Resize: With the item open click the dropdown to change the number of columns occupied by the layout item. In general, layouts are 12 columns wide, so items that are less than full width can be placed next to each other as long as they are less than 12 columns wide in total.
- New Box: This allows you to add a subsection for greater control over the exact position of layout elements. This section will be 12 columns wide inside (items set at 12 columns will take up the width of the new box) and the set width on the outside.
- Mark Required: Checking the Required checkbox will make the item required for users to submit the form
- Display Choice as Checkbox: Choice custom fields can be displayed as a dropdown menu or a series of checkboxes
- Display Label: If the previous option is checked, network owners can decide whether or not to display the label on the form. Choice names will always display next to each checkbox.
Adding and Removing Items
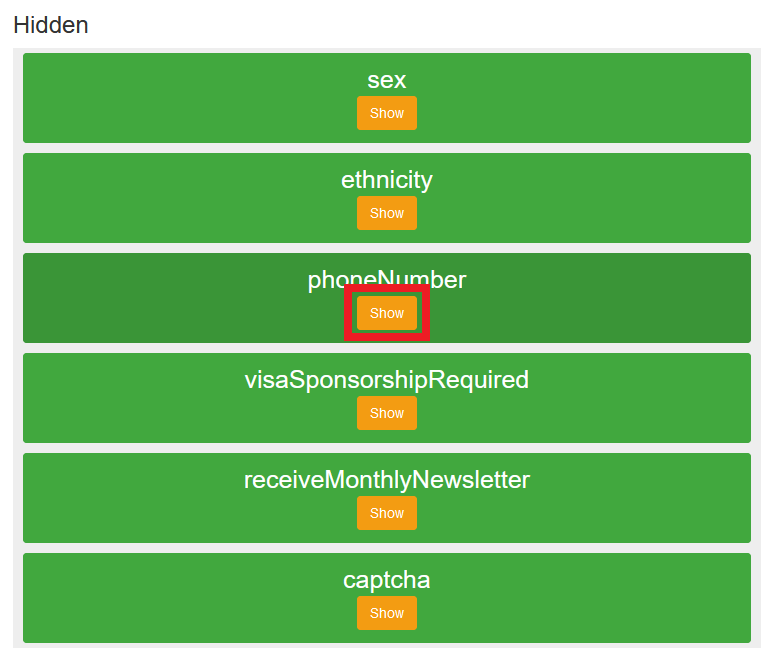
To add an item that is not currently being shown on a Layout, simply click the Show button for the item to the right of the Layout.
To remove an item from the Layout, expand the item by clicking the Gear icon. In the options for the item will be a red button labelled either Hide or Remove. Clicking this button will move the item out of the Layout and to the list on the right.


Comments